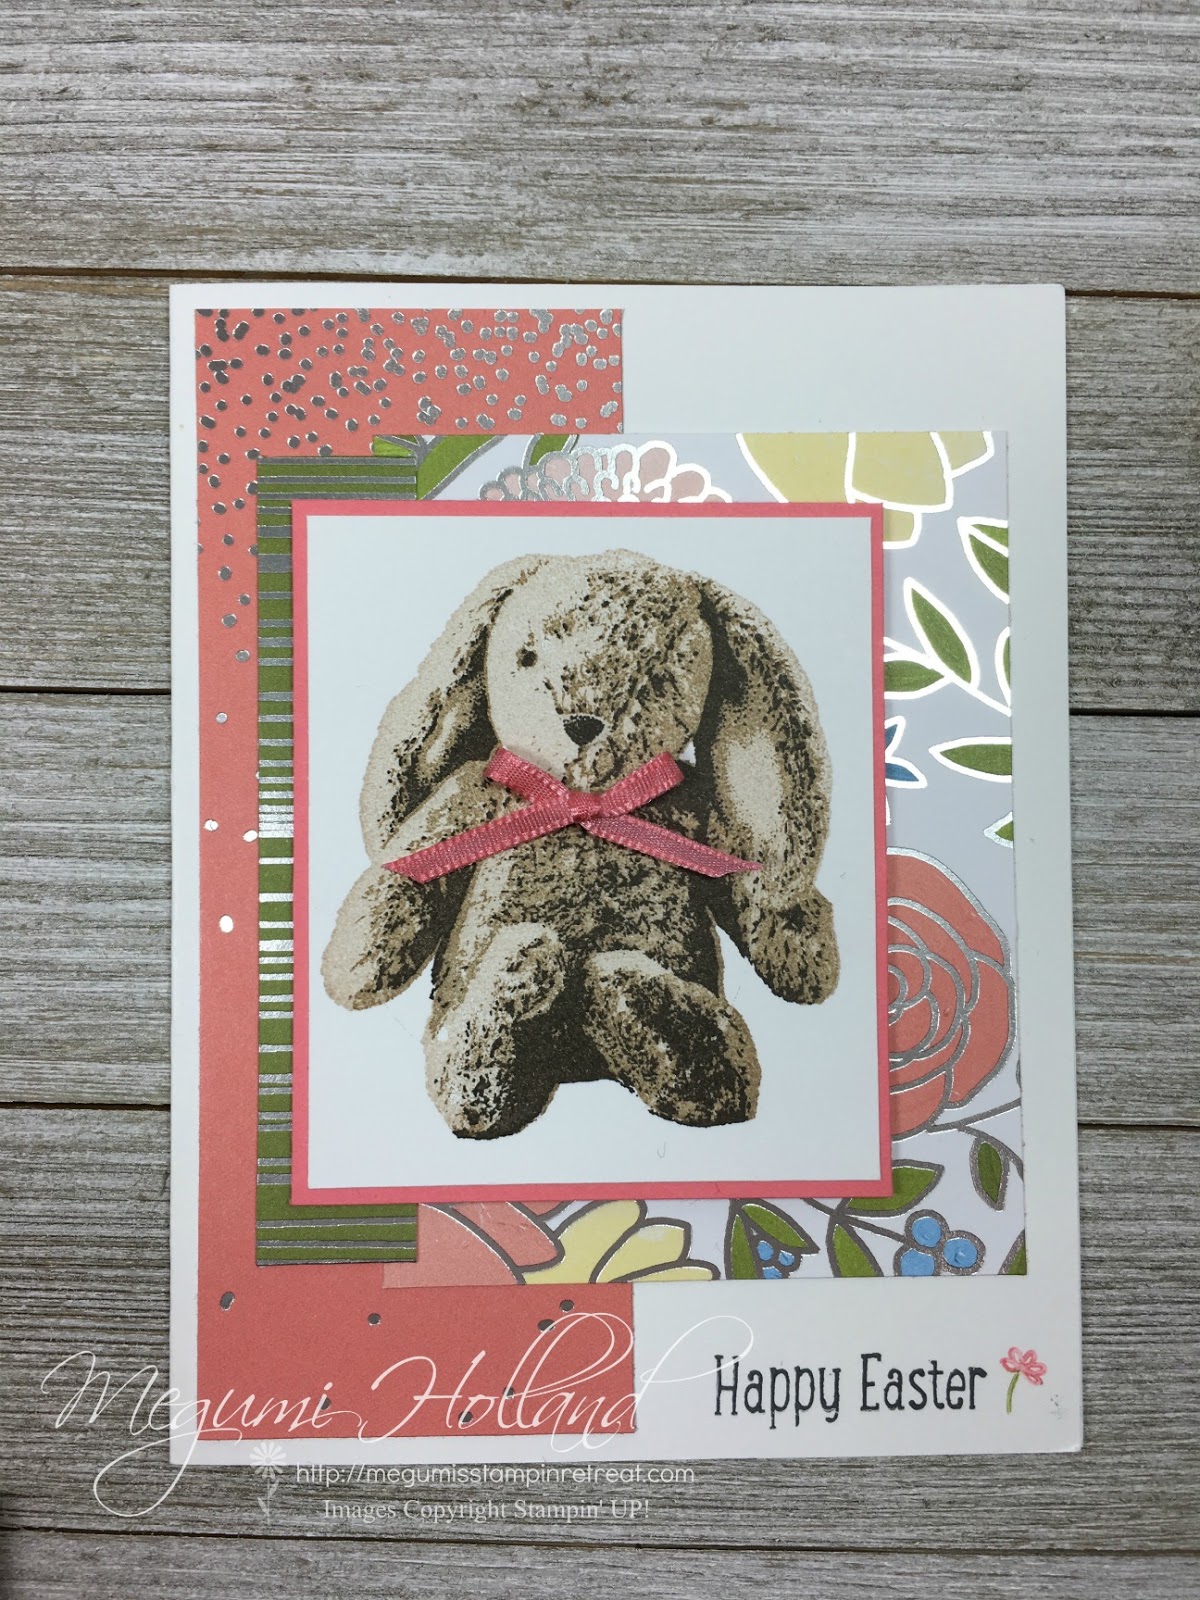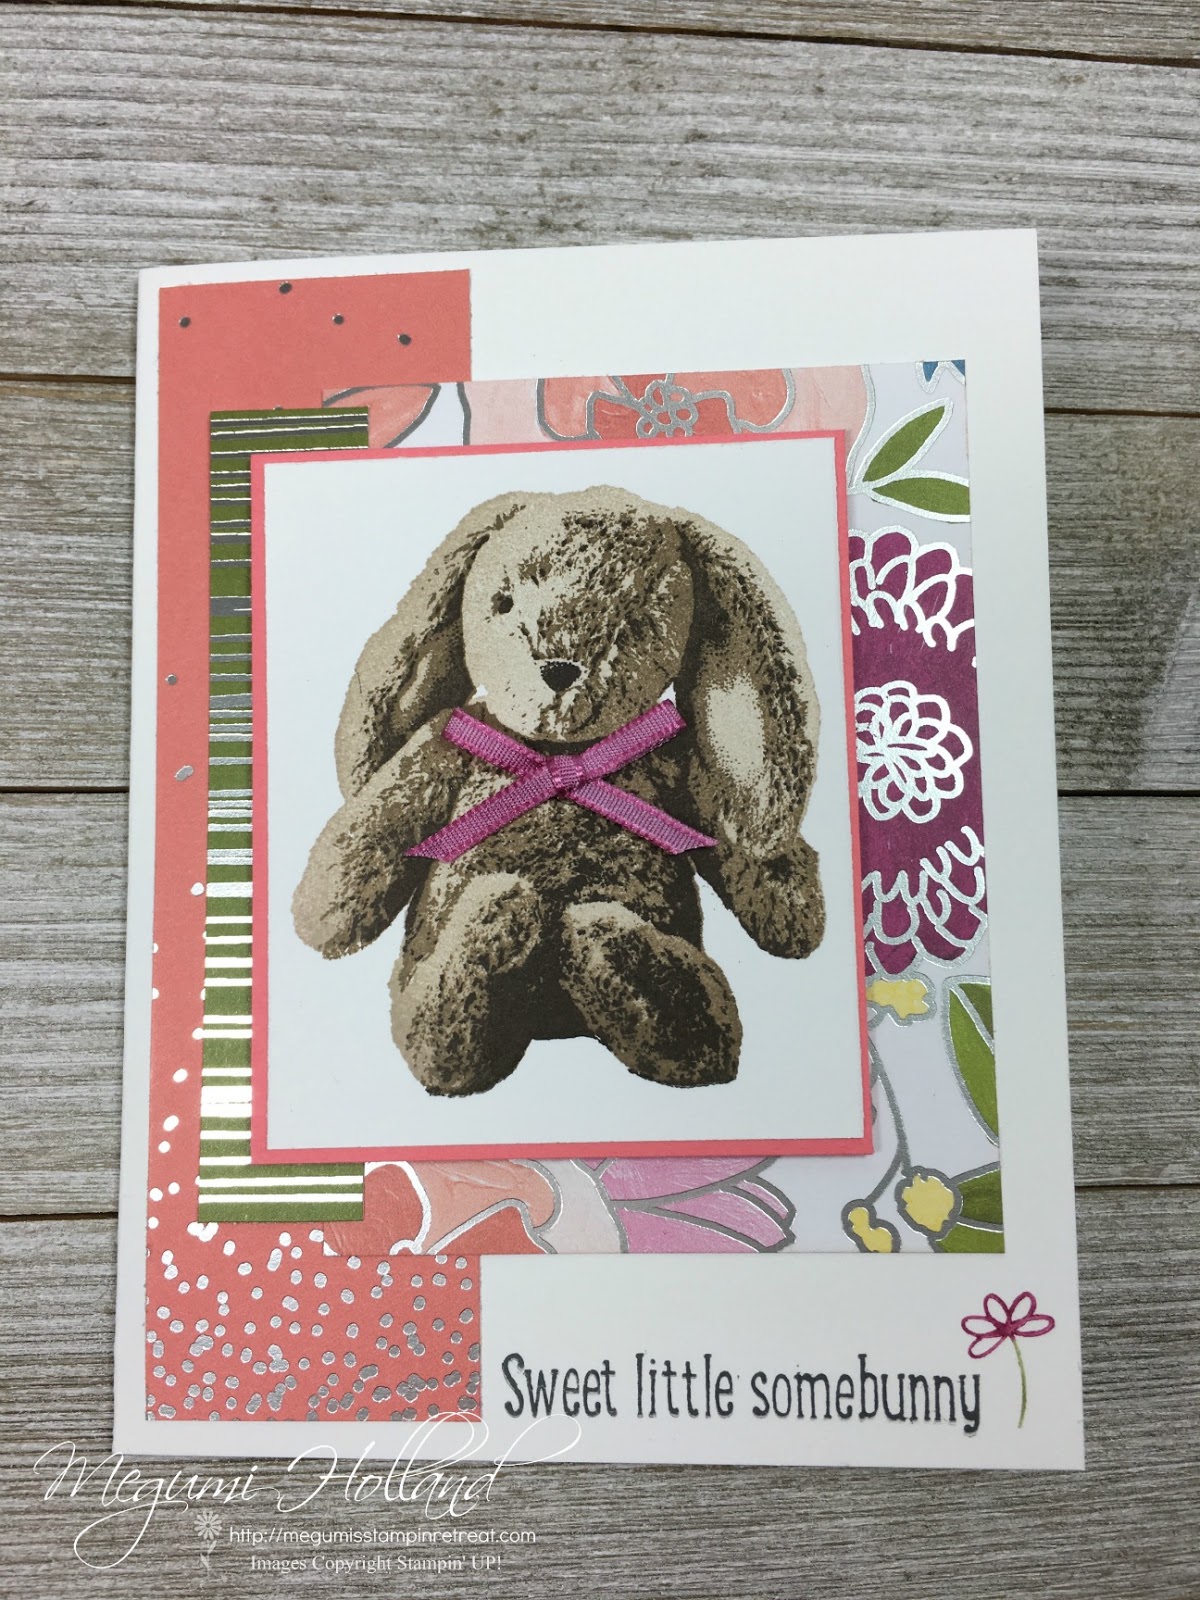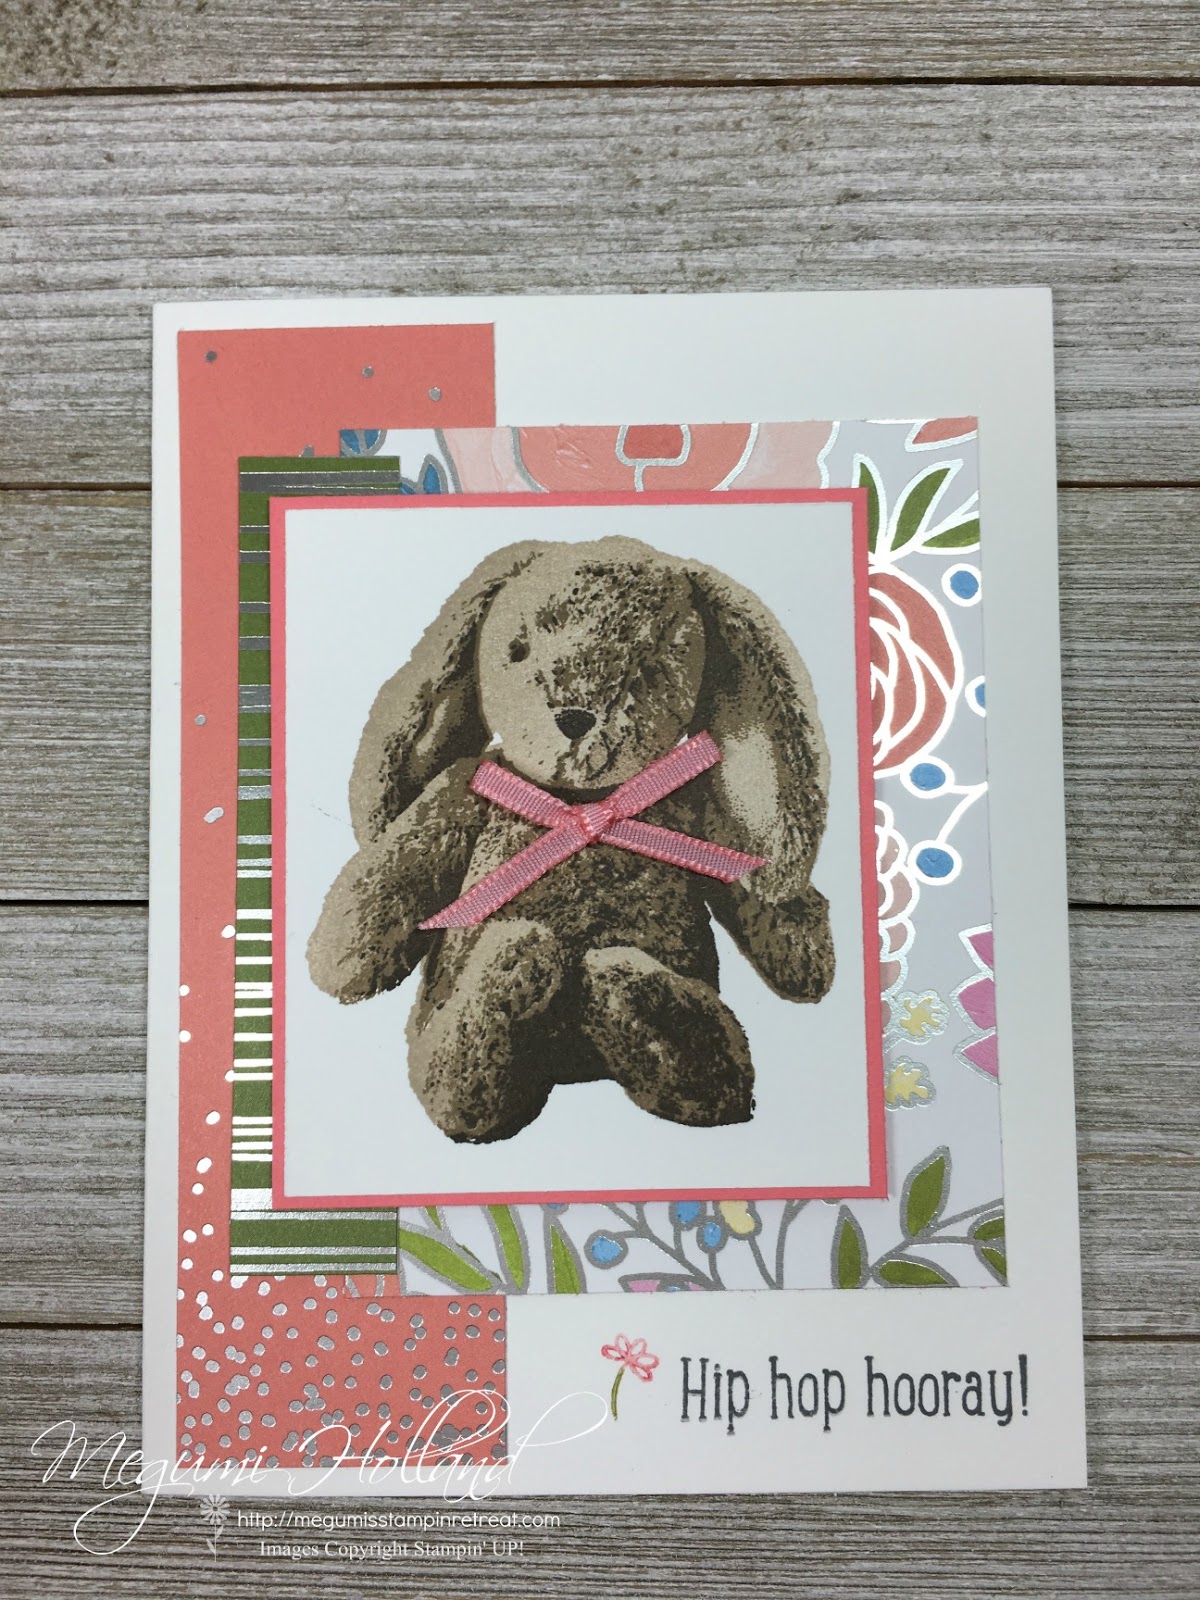
Hello Stampers! Here is one of the cards we made at my Card Club in February featuring the Sweet Little Something Stamp Set. This stamp set is amazing! In fact, I was so impressed with it and I immediately thought I had to share more! So I demoed it again at a stamp camp last week. I just love the bunny! Doesn’t she look so real? It’s easy to get that look with three easy steps!
Here is a color variation chart I created:

There are three bunny image stamps. You want to start with most detailed image with the darkest color you pick (step 1) and use the solid image for step 3.
Helpful Tips:
- Please note you may experience a different result compared to mine. It depends on how juicy your ink pad is. You may have to re-ink your ink pad or try to stamp-off if it’s too juicy.
- Try to align your step 2 and step 3 stamp images with the triangle spot that you see on your right. It’s between her face and ear.

I love the Sweet Soiree Specialty Designer Series Paper! Ever since I saw the paper at OnStage last November, I knew it was going to be one of the products for me to order. Silver foil adds a textured look to these handpainted designs. Absolutely beautiful!

To make her bow I took the Whisper White 1/8″ Sheer Ribbon and colored it with Flirty Flamingo and Berry Burst ink pads using the Sponge Dauber.
Supply List
Stamps – Sweet Little Something
Paper – Whisper White Thick Card Stock, Whisper White, Flirty Flamingo, Sweet Soiree DSP
Ink – Early Espresso, Soft Suede, Crumb Cake, Memento Tuxedo Black
Tools and Accessories – Whisper White 1/8″ Sheer Ribbon, Stampin’ Write Markers (Flirty Flamingo, Berry Burst, Lemon Lime Twist)

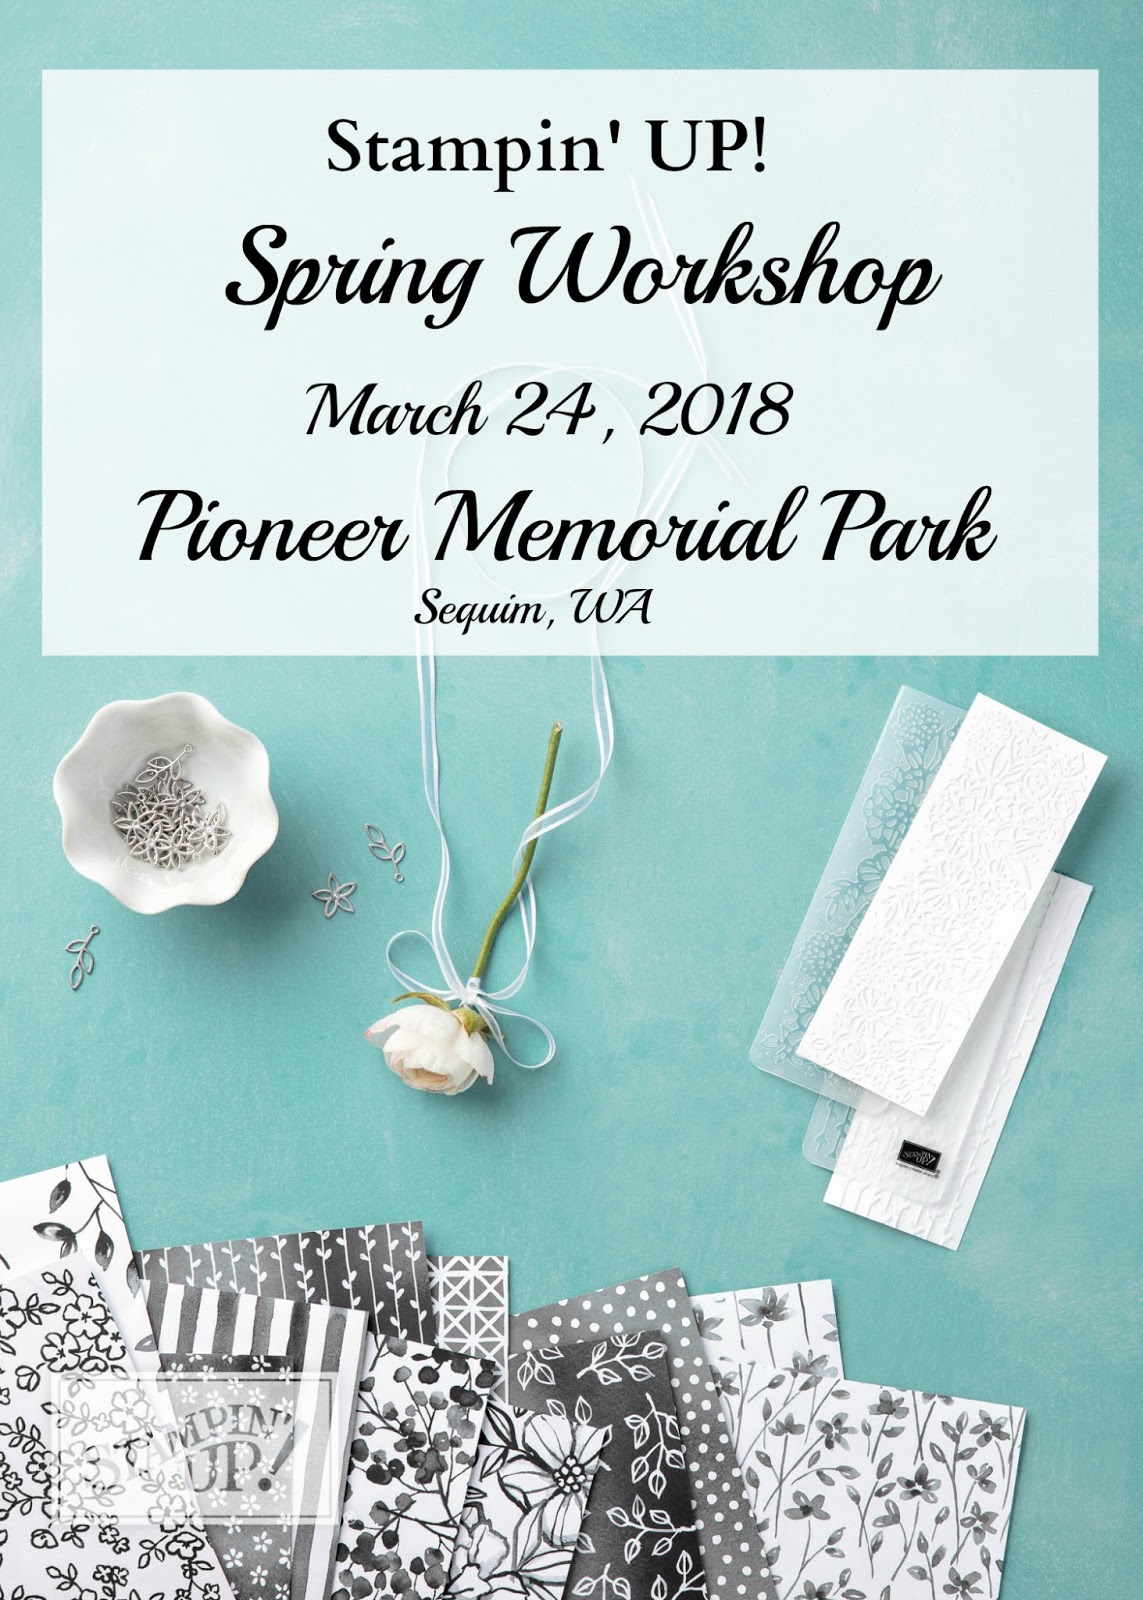
Don’t forget to register for this fun filled craft event! This is the last week to reserve your spot. Please click HERE to register online. It will be fun!!!
Thank you for stopping by today. Happy Stampin!!!


Leave a Reply